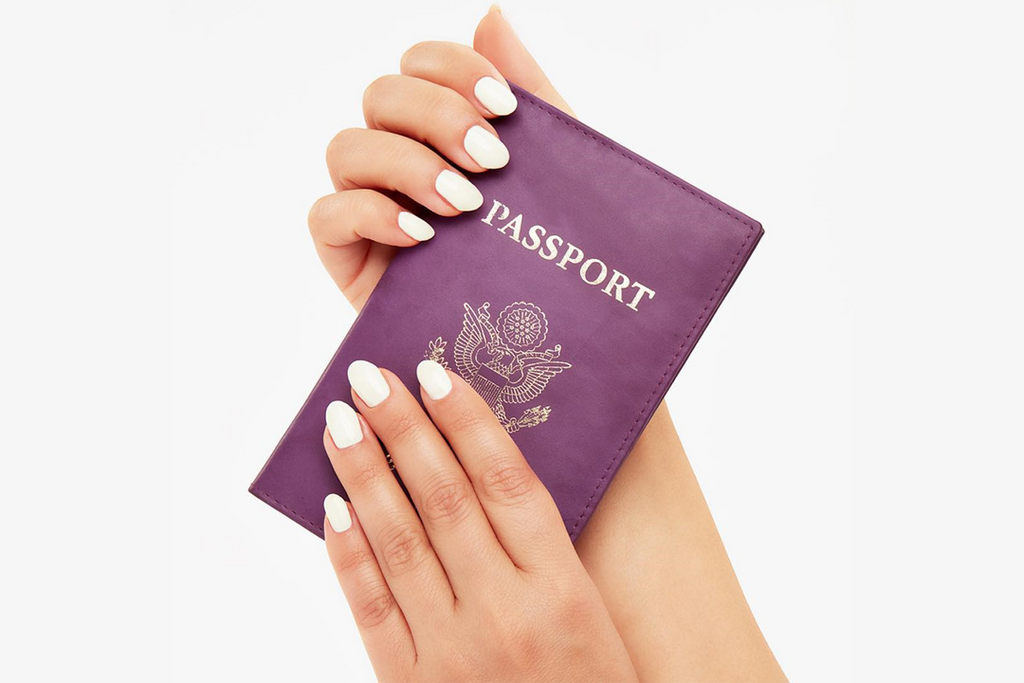
Everything You Need To Know About DIY Gel Manicures
View original blog post here.

If you've never tried gel polish before, consider this. Gel manicures last twice as long as regular manicures, the drying (or "curing") time is cut in half, and you can do it yourself in the comfort of your own home! That's right, if you're looking to save a few bucks this summer and put that towards your next vacation, listen up! Gel manicures are great, especially for vacations. Take a moment and browse the selection of gel polishes we carry.
The Benefits of Gel Manicures

The Perfect Vacation Nails
Gel manicures typically last 11-14 days, which are perfect for summer vacation! This means you won't have to worry about touch-ups and chipping. As long as you follow all the proper prep and application steps, you're good to go!
A Time Saver
Did you know that regular nail lacquer takes up to 24 hours to completely dry? Even though the polish feels dry, there are particles inside that are still evaporating. With gel polish, you put your nails through a "curing" process via a LED/UV lamp, and your nails are dry in seconds! This means you don't have to worry about ruining your polish!
What You Need For Your DIY Gel Manicure
- UV/LED lamp
- Gel Top & Base Coats
- Gel Polish Color
- 100% Acetone (for removal)
UV vs LED Lamps
You may have seen two types of lamps for curing gel polish on the market: UV and LED. You're probably wondering, what's the difference? UV lamps cure ALL types of gel polish, while LED lamps only cure LED-specific gel polishes. LED lamps cost a little more money but offer a faster dry time, while UV lamps are a little more inexpensive but take a little longer to cure.

SHOP
Are UV/LED Lamps Harmful?
Compared to the rays you're exposed to while tanning, swimming, and even walking, the exposure to UV rays under a lamp is very minimal. But if you're worried, opt for a LED lamp because it cures your nails faster. You can also purchase anti-UV gloves.
Le Mini Gel Manicure Kits

Applying gel manicures at home has never been easier thanks to the Le Mini Macaron Gel Manicure Kit! Each kit includes a gel polish, top coat (optional), remover wipes, cuticle stick, nail file, and an adorable UV lamp (shaped like a macaron!). These kits are so compact that now it's easy to DIY your gel mani from anywhere!
How To Apply Gel Polish At Home
- Use the cuticle stick to push back the skin on the nail.
- Use the nail file to file the surface and edge of your nail.
- Apply a very thin layer of gel polish.
- Cure in the lamp for 30 seconds (lamp will automatically turn off after 30 seconds).
- Apply a second, thicker coat and cure for another 30 seconds.
Tips For Applying Gel Polish At Home
- Avoid getting polish onto your skin or cuticle because when you cure your nails, the polish will cure onto your skin/cuticles too. If you accidentally get gel polish on your skin or cuticle, use a manicure stick to get the extra polish off before you cure.
- Don't touch your nails between layers because the product will be sticky.
- You don't need much product. Apply your gel polish in thin layers. This will help prevent bubbling and added stickiness.
How To Remove Gel Polish At Home
- Open the remover pad.
- Place your finger inside (make sure the pad sits on top of the nail).
- Tear off the clear sticker.
- Wrap tightly around your finger.
- Repeat for each finger.
- Let your nails soak for 15 minutes.
- Remove the wrap. The gel will detach from the nail. Use a cuticle stick to gently remove excess.
- File away remaining gel.